This is a sponsored conversation written by me on behalf of Cricut. The opinions and text are all mine.
Disclosure: This Disney card Cricut maker post contains affiliate links. Read full Disclosure Policy.
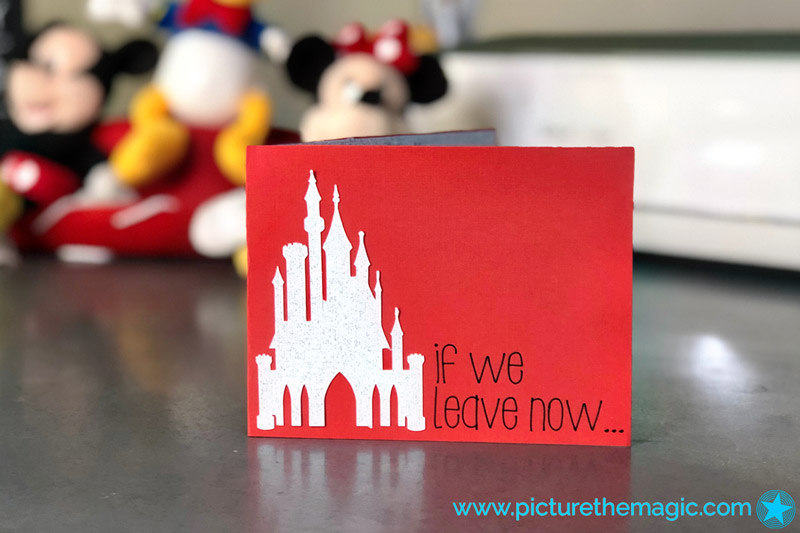
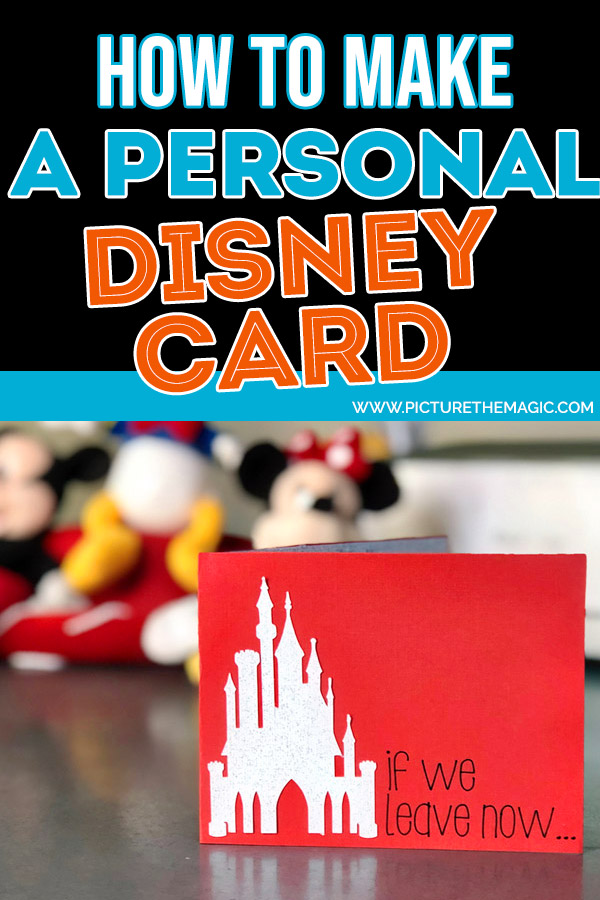
I am SO excited to share with you Part 2 of our Cricut For Beginners project series!Today we will be making a custom card.
With our Cricut card making tutorial, you’ll learn how to make cards on Cricut that can be used as a thank you card, a custom Disney birthday card, a Star Wars party invitation, you name it!
And even though, we are focused on creating Disney projects here at Picture the Magic, the skills you learn here are transferable to less-magical mediums… You might even say that they will take you to infinity and beyond! (sorry… I couldn’t resist!)
Now before I throw out another Disney dad joke, let’s start crafting!
Note: you might find this list of the best Cricut accessories helpful.
If You’re Just Joining Us…
If you are just joining us, we are using ONE purchased image that cost less than TWO dollars to create THREE fun and easy projects on our Cricut Maker. We guide you through each project with step-by-step written instructions and a detailed video tutorial!
SEE THE OTHER TWO PROJECTS
Now…let’s get to our Cricut card making! Here we go…
Table Of Contents
- Video Overview: Watch this First
- Getting Started
- Creating Your Design
- Cutting Your Design
- Assembling Your Card
- More Card Projects
Video Overview: Watch this First!
Getting Started: Cricut Card Making
Supplies and Accessories Needed to Make a Disney Card with Cricut Maker
- Cricut Maker
- Light or Standard Grip Mat
- Fine Point Blade
- Single Scoring Wheel (optional)
- Black fine point Cricut pen
- Red and white scrapbook paper
- Glue stick
Skill level: Beginner
Time Estimate: 30-40 minutes
Creating Your Design
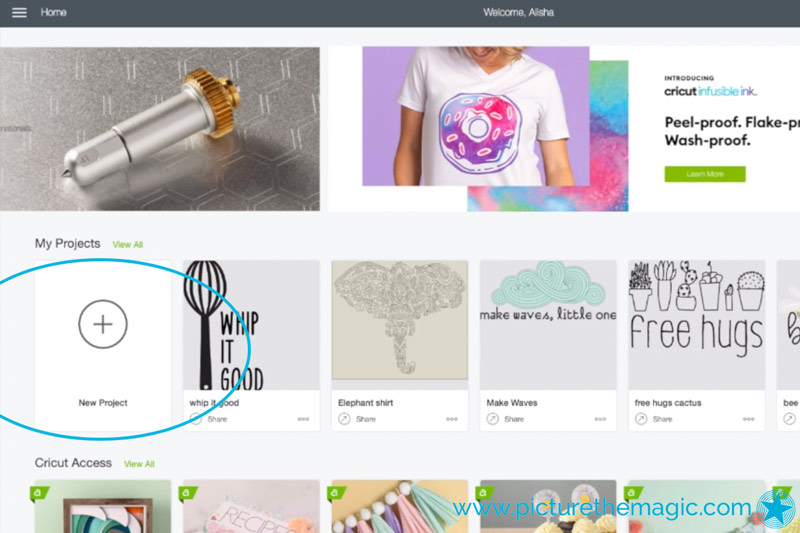
STEP 1: Open Cricut Design Space on your browser.
On the left hand side, open a NEW PROJECT.
STEP 2: CREATE YOUR BASE CARD
Click SHAPES. Choose a SQUARE.

UNLOCK the proportion control for the shape.
Change the dimensions of the square to be 11” WIDE and 4.25” TALL.
Change the COLOR to red.
Click SHAPES. Choose a SCORE LINE.
Note: If you don’t have a scoring wheel, skip all steps related to the SCORE LINE.
Adjust the scoreline to be 4.25” TALL.
Note: In filming the video tutorial, I accidentally made the score line 4.5” tall… oops! 4.25” is the correct height. But if you mess up like I did, it won’t affect your card at all!
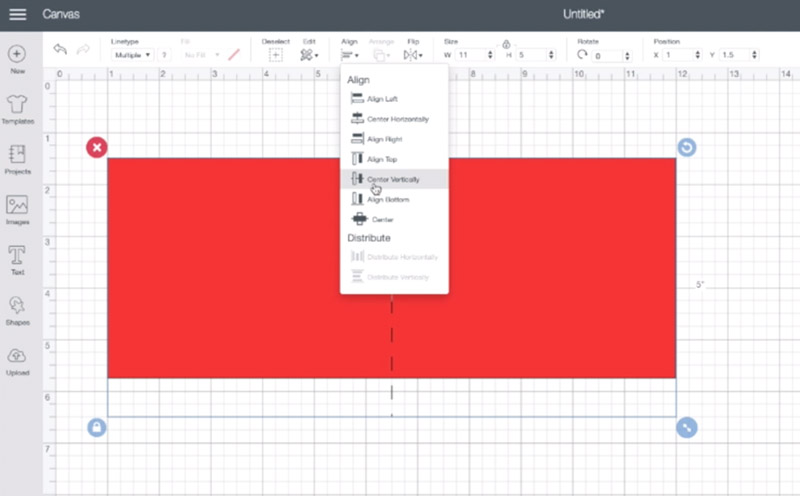
Position your RECTANGLE at X = 1”
Position your SCORELINE at X = 6.5”.
Select both the rectangle and scoreline. ALINE them vertically.
ATTACH the rectangle and scoreline.
STEP 3: CREATE YOUR INTERIOR CARD LINER
Click SHAPES. Choose a SQUARE.
UNLOCK the proportion control for the square.
Change the dimensions of the square to be 5.4” WIDE and 4.15” TALL.
Change the COLOR to white.

STEP 4: ADD CASTLE TO YOUR CARD
Click IMAGES and then CATEGORIES.
Scroll down to select DISNEY.
Search for “castle.”
Select the castle of your choice, then select INSERT IMAGES.
Change the COLOR to white.
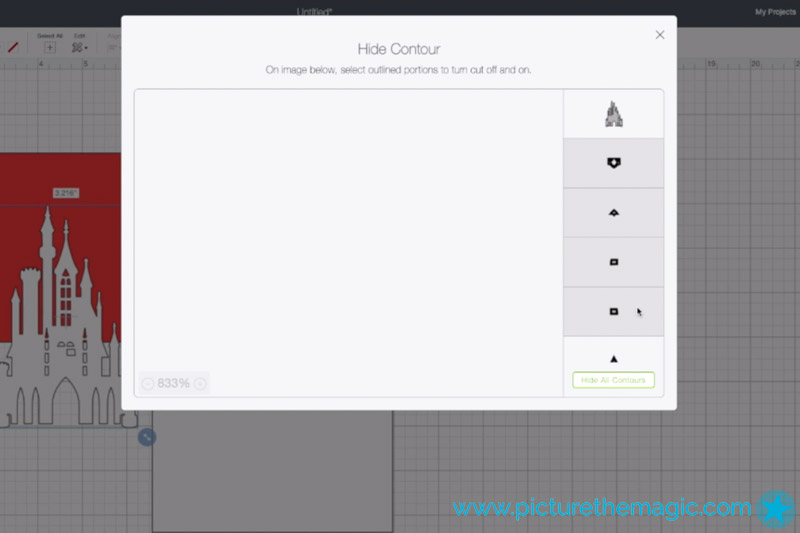
Use the CONTOUR button to select any cuts you don’t want included in your image.
Once all unwanted cuts are selected, click HIDE ALL CONTOURS.
Change the height of the CASTLE to just under 3.8” tall, leaving the proportion control locked, so the width will adjust automatically.
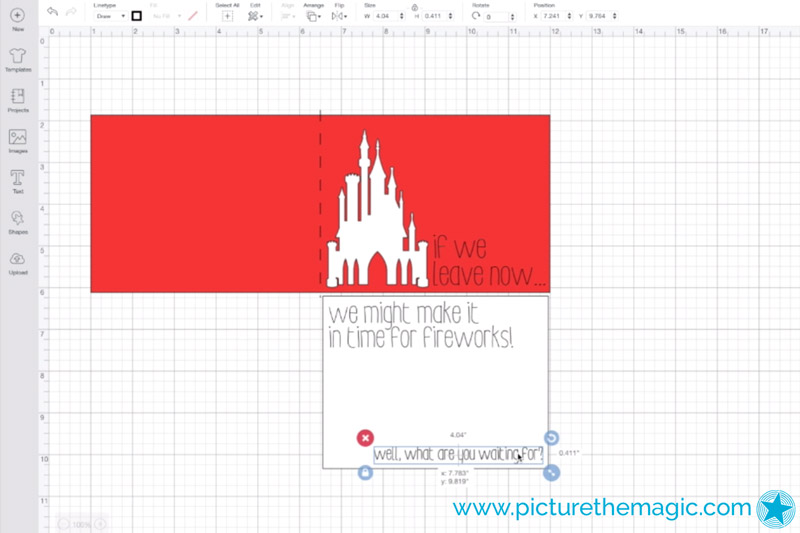
DRAG the castle into place, to the right of your scoreline.
STEP 5: ADD TEXT to the front of your card
Click TEXT to create a text box.
Change the font by selecting the drop-down FONT menu and search for the font of your choice. We used “Little White Lies.” Select your desired font.
Change the LINE TYPE to Draw. Change the STYLE to Writing.

TYPE in your text. We wrote: “if we leave now…”
Adjust the Line Space as needed. We chose “-3” for the Line Space.
Change your FONT SIZE to 42pt.
Drag your text into place.
STEP 6: ADD TEXT to the inside of your card
Click TEXT to create a second text box.
The FONT, LINE TYPE, and STYLE should automatically remain the same from your last text box. If not, adjust them accordingly.
TYPE in your text. We wrote: “we might make it in time for fireworks!”
Adjust the Line Space as needed. We chose “-3” for the Line Space.
Change your FONT SIZE to 38pt.
Drag your text into place.
Click TEXT to create a third text box.
The FONT, LINE TYPE, and STYLE should automatically remain the same from your last text box. If not, adjust them accordingly.
TYPE in your text. We wrote: “well, what are you waiting for?”
Adjust the Line Space as needed. We chose “-3” for the Line Space.
Change your FONT SIZE to 23pt.
Drag your text into place.
STEP 7: ATTACH LAYERS for proper cutting
- ATTACH the white interior rectangle and 2 interior text boxes.
- ATTACH the red outer rectangle and exterior text box.
Cutting Your Design
STEP 1: Turn ON Your Cricut Maker & connect to your computer
STEP 2: CUTTING YOUR WHITE PIECES
Place your white cardstock or scrapbook paper onto your mat, aligning it with the grid.
Make sure your Fine Point Blade is in the machine (in Cartridge B).
Load a Black Fine Point Cricut Pen into Cartridge A.

Load your mat (The cut-out arrow goes in first).
Click MAKE IT at the top right of your screen.
Choose LIGHTWEIGHT CARDSTOCK (or HEAVYWEIGHT CARDSTOCK, depending on your material) for your MATERIAL.
Verify your blade and mat are loaded correctly.
Press the GO button on your Cricut Maker.
When the Maker is finished and the Load/Unload button blinks, UNLOAD your mat.
STEP 3: CUTTING YOUR RED PIECES
Place your red cardstock or scrapbook paper onto your mat, aligning it with the grid.
Load the Single Scoring Wheel into Cartridge B.
Load your mat (The cut-out arrow goes in first).
Press the GO button on your Cricut Maker.

When the Maker is finished SCORING, replace the Fine Point Blade into Cartridge B.
Press the GO button on your Cricut Maker (again).
When the Maker is finished and the Load/Unload button blinks, UNLOAD your mat.
Assembling Your Card
STEP 1:
Gently remove the Cardstock from the mats by peeling the mat away from the Cardstock. Be careful not to bend your card!

STEP 2:
Fold the red rectangle along the Score Line. Open the card again.
STEP 3:
Attach your white card liner to the inside of your card using a thin layer of glue.
TIP: You may want to wait a few minutes to make sure your ink is dry!
STEP 4:
Attach the castle to the front of the card using a thin layer of glue.

STEP 5:
Enjoy your masterpiece!
More Card Projects
How easy was that? There are so many paper-based projects you can make using your Cricut Maker! I’ve got my eye on these cuties:
- Paper Flowers from Jennifer Maker
- Make & Assemble Beautiful Boxes from Daydream Into Reality
- Gift Card Holders from Upright and Caffeinated
- Homemade Christmas Ornaments from 100 Directions
- 3-D Folded Paper Apple from The Kim Six Fix
We cannot wait to see the cards you make! Share your design with us using #picturethemagic for a chance to be featured on our instagram!
If you’re ready to spend another #crafternoon with Picture the Magic, check out Part 3 of our Cricut for Beginners series: a Custom Shirt Tutorial!
Or, teach your kids to Cricut! See our list of Disney Cricut Projects for Kids.
Pin for Later
Cricut Card Making FAQs
First, go to “My Projects” and you’ll see a list of all your saved projects. Your card project should be in there.
Click the project name to open it.
Once you open your project, you can resume editing it.
Inside Design Space, find your project. Click the “share” link at the bottom of the tile. From there, simply follow the prompts. It’s super easy.
If you are using the Cricut Maker, you can use virtually any type of cardstock you’d like for your card. To see a list of materials that Cricut Maker can cut, visit this guide.