Follow this step-by-step guide to convert any SVG file you find online into a printable template for pumpkin carving.
Note: you will want to follow these steps on a desktop or laptop computer. Not likely to work well on a mobile device.
I will share two common methods:
How to Convert an SVG File into a Pumpkin Template Using Microsoft Word
1. Find an SVG File
Select from our huge collection of Disney, Marvel, Star Wars, or Harry Potter SVG files, or find your own on Pinterest or searching the web.
2. Download it as either a PNG or SVG file format
Either file format (PNG or SVG) will do.
PNG is preferred, as it works with many more programs.
However, in this case, both PNG and SVG formats work with Microsoft Word.
Download the file to your computer. Put it in a location where you can easily find it.
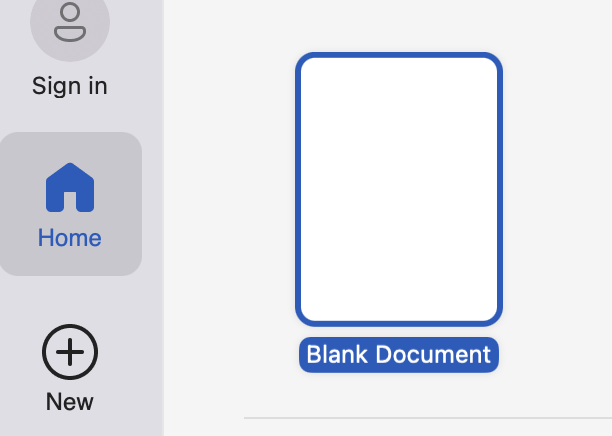
3. Open a Blank Word Document
You’ll want a brand new, blank Microsoft Word document for our purposes.
4. Upload Your Image to Word
In Microsoft Word’s navigation menu, go to Insert > Pictures > Picture from File.
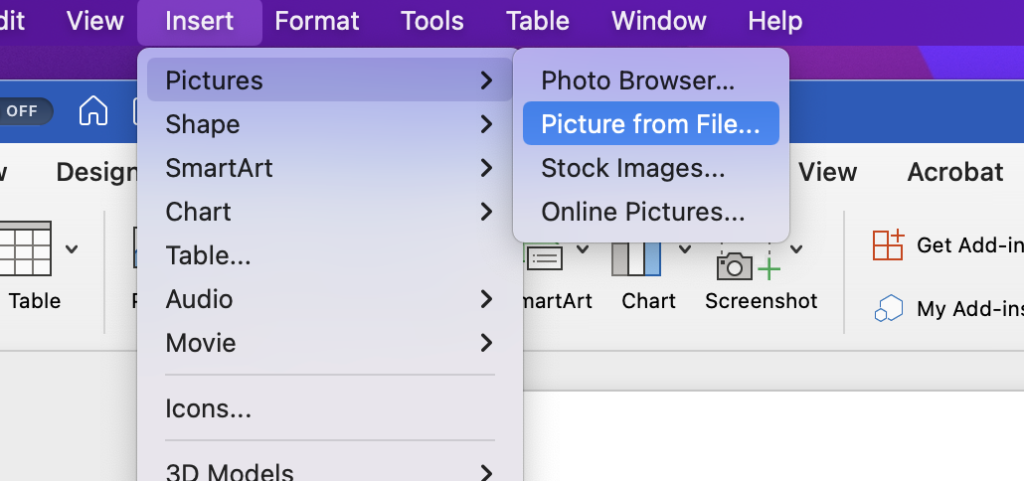
Locate your PNG file on your computer and select it to be inserted.

Now, you should see the image added to the Word document.
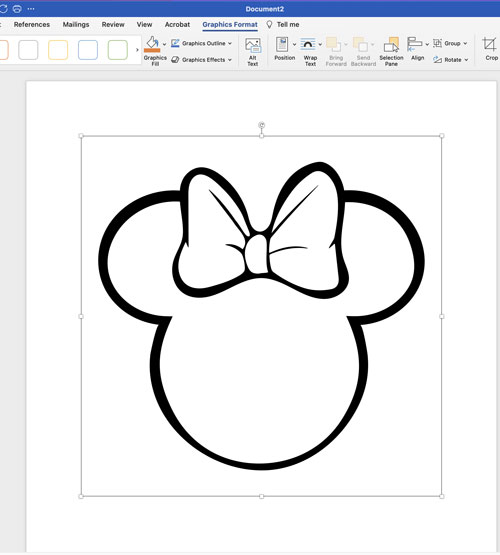
5. Adjust the Size or Layout
In Word, you can resize the image by clicking the image and then adjusting the sliders in the corners to increase or decrease the size.
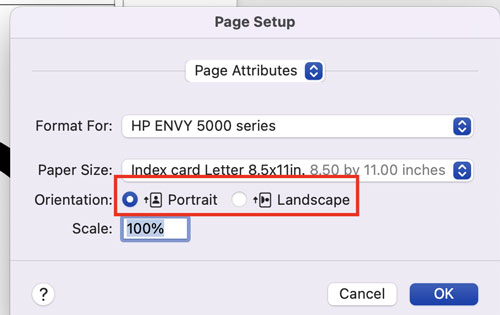
Additionally, you may want to change the orientation of the document. The standard or default is usually Portrait mode.
By switching to Landscape orientation, you might be able to increase the size of the image for printing.
To change from Portrait to Landscape, go to Word’s navigation menu and select File > Page Setup. You will then be able to select the orientation mode you desire.
6. Print Your Template
To print, go to File > Print.
Presto! You now have a pumpkin stencil you can follow to make your pumpkin carving a breeze.
How to Convert an SVG File into a Pumpkin Template Using Google Docs
1. Find an SVG File
Select from our huge collection of Disney, Marvel, Star Wars, or Harry Potter SVG files, or find your own on Pinterest or searching the web.
2. Download it as either a PNG or SVG file format
Only PNG images work with Google Docs, but you can download SVG file format as well, as we will simply convert it to a PNG file in the next step.
Download the file to your computer. Put it in a location where you can easily find it.
2b. Convert SVG file to PNG file format
Since Google Docs can’t read or open a SVG file, you’ll need to convert the SVG to PNG using one of these free SVG-to-PNG conversion tools:
Again, put it in a location where you can easily find it.
3. Open a Blank Google Document
You’ll want a brand new, blank Google document for our purposes.
4. Upload Your Image to the Google Document
In Google Document’s navigation menu, go to Insert > Image > Upload from Computer.
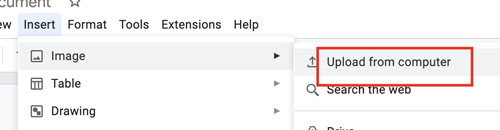
Locate your PNG or SVG file on your computer and select it to be inserted.
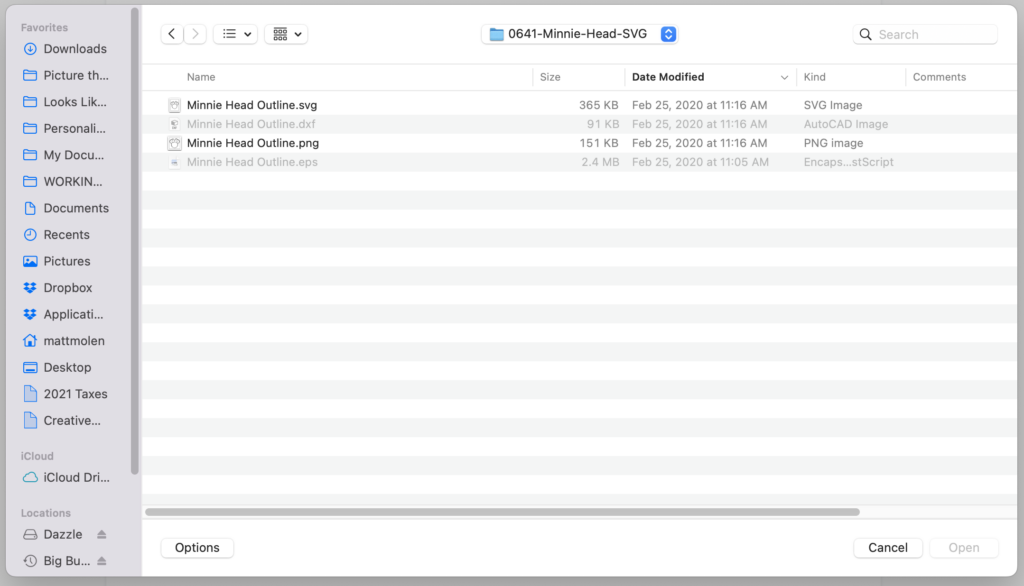
Now, you should see the image added to the Google Document.
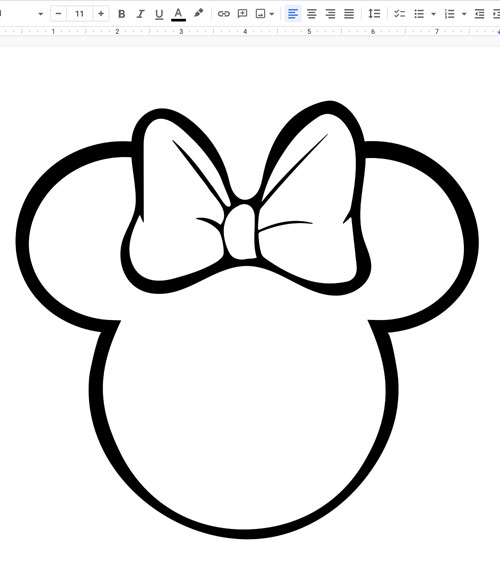
5. Adjust the Size or Layout
In Google Docs, you can resize the image by clicking the image and then adjusting the sliders in the corners to increase or decrease the size.
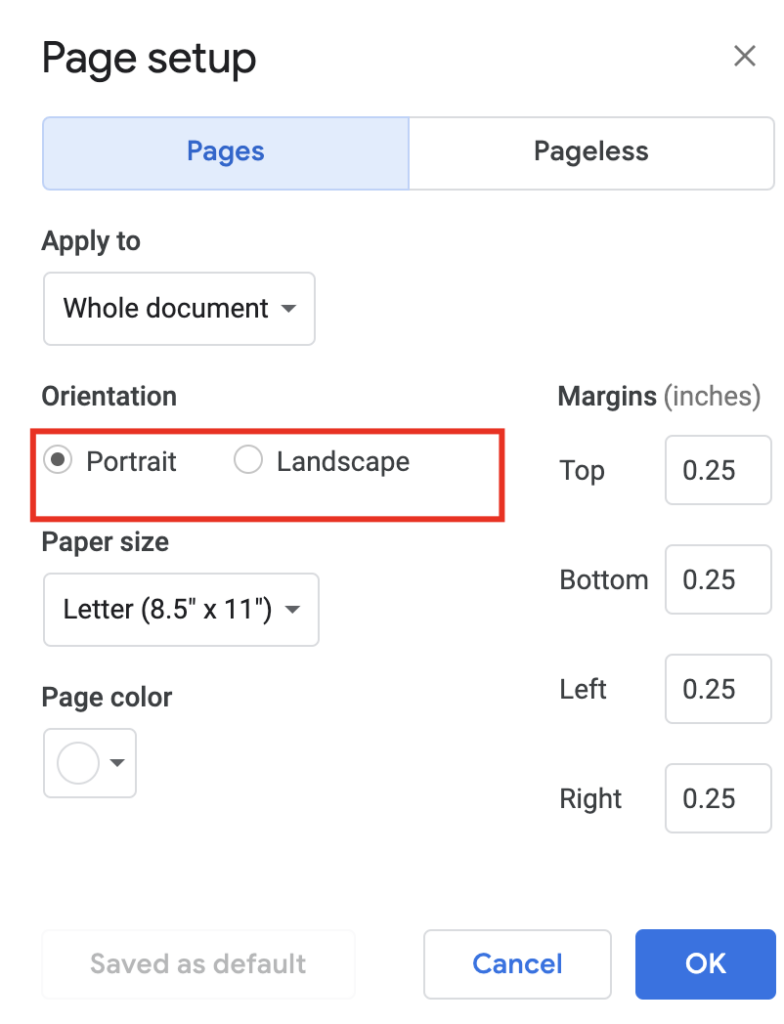
Additionally, you may want to change the orientation of the document. The standard or default is usually Portrait mode.
By switching to Landscape orientation, you might be able to increase the size of the image for printing.
To change from Portrait to Landscape, go to Google Doc’s navigation menu and select File > Page Setup. You will then be able to select the orientation mode you desire.
6. Print Your Template
To print, go to File > Print.
Presto! You now have a pumpkin stencil you can follow to make your pumpkin carving a breeze.
Ready to Get Started?
To get started, you need an SVG or PNG file.
Here are some of my favorite Disney SVG files:
How to Use a Template to Carve a Pumpkin
Once you have your template printed, you’ll want to know what to do with it to make a beautifully carved Jack O Lantern.
Watch this short video that walks you through each step.