This is a sponsored conversation written by me on behalf of Cricut. The opinions and text are all mine.
Disclosure: This Cricut water bottle post contains affiliate links. Read full Disclosure Policy.
Welcome to Picture the Magic’s Cricut for Beginners series: Disney Cricut Projects — Easy as 1-2-3.We are so excited to have you join us as we teach you how to make THREE DIY Disney projects using your Cricut Maker or Cricut Explore!
The basic idea of the crafting series is this…
We are using:
…ONE purchased image
…that cost less than TWO dollars
…to create THREE fun and easy projects!
We will guide you every step of the way with written instructions and a detailed video tutorial for each project! Sound fun? We thought so too!
Our projects will be Disney inspired (of course!), but if that’s not your thing, no worries. You can use our tutorials and substitute any image of your choice. We even have Disney Cricut projects you can do with your kids.
SEE THE OTHER TWO PROJECTS
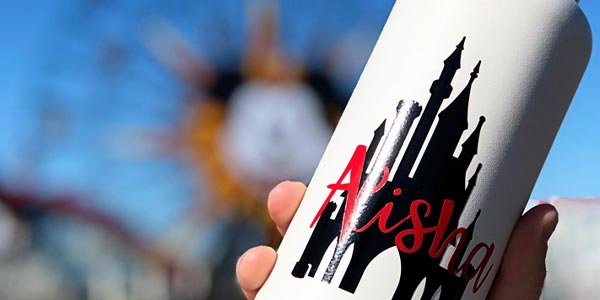
Now…let’s get to our Cricut water bottle craft! Here we go…
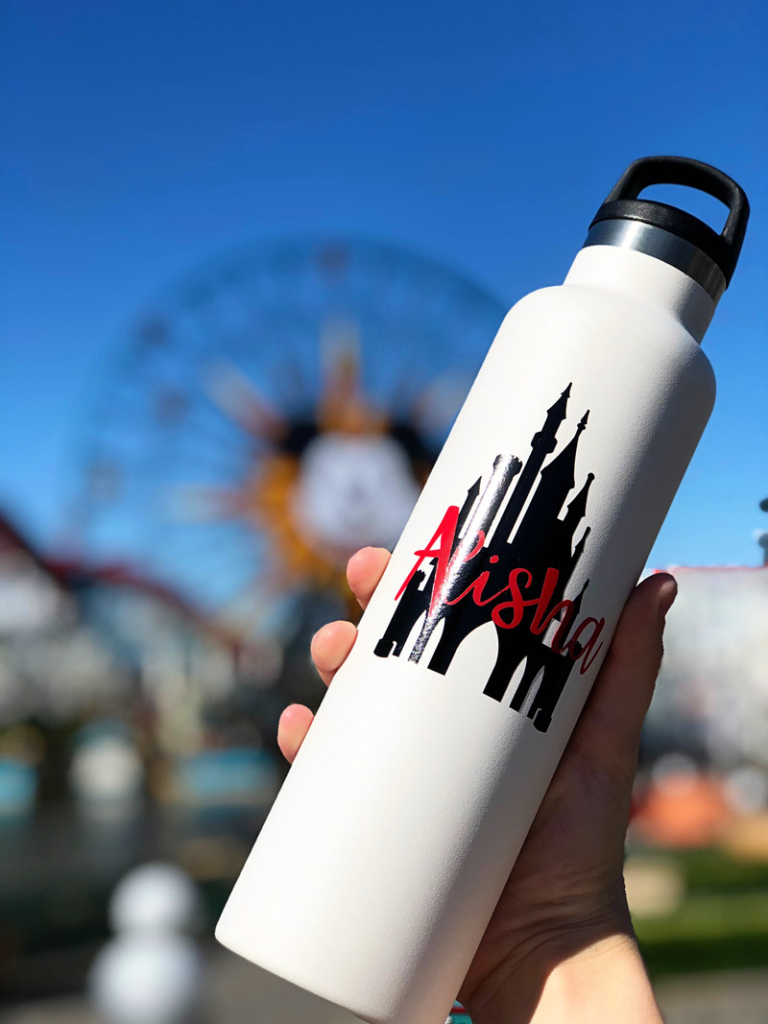
Table Of Contents
- Video Overview: Watch this First
- Different Kinds of Vinyl
- Getting Started
- Creating Your Design
- Cutting Your Design
- Applying Your Design
- Care Instructions
Video Overview: Watch this First!
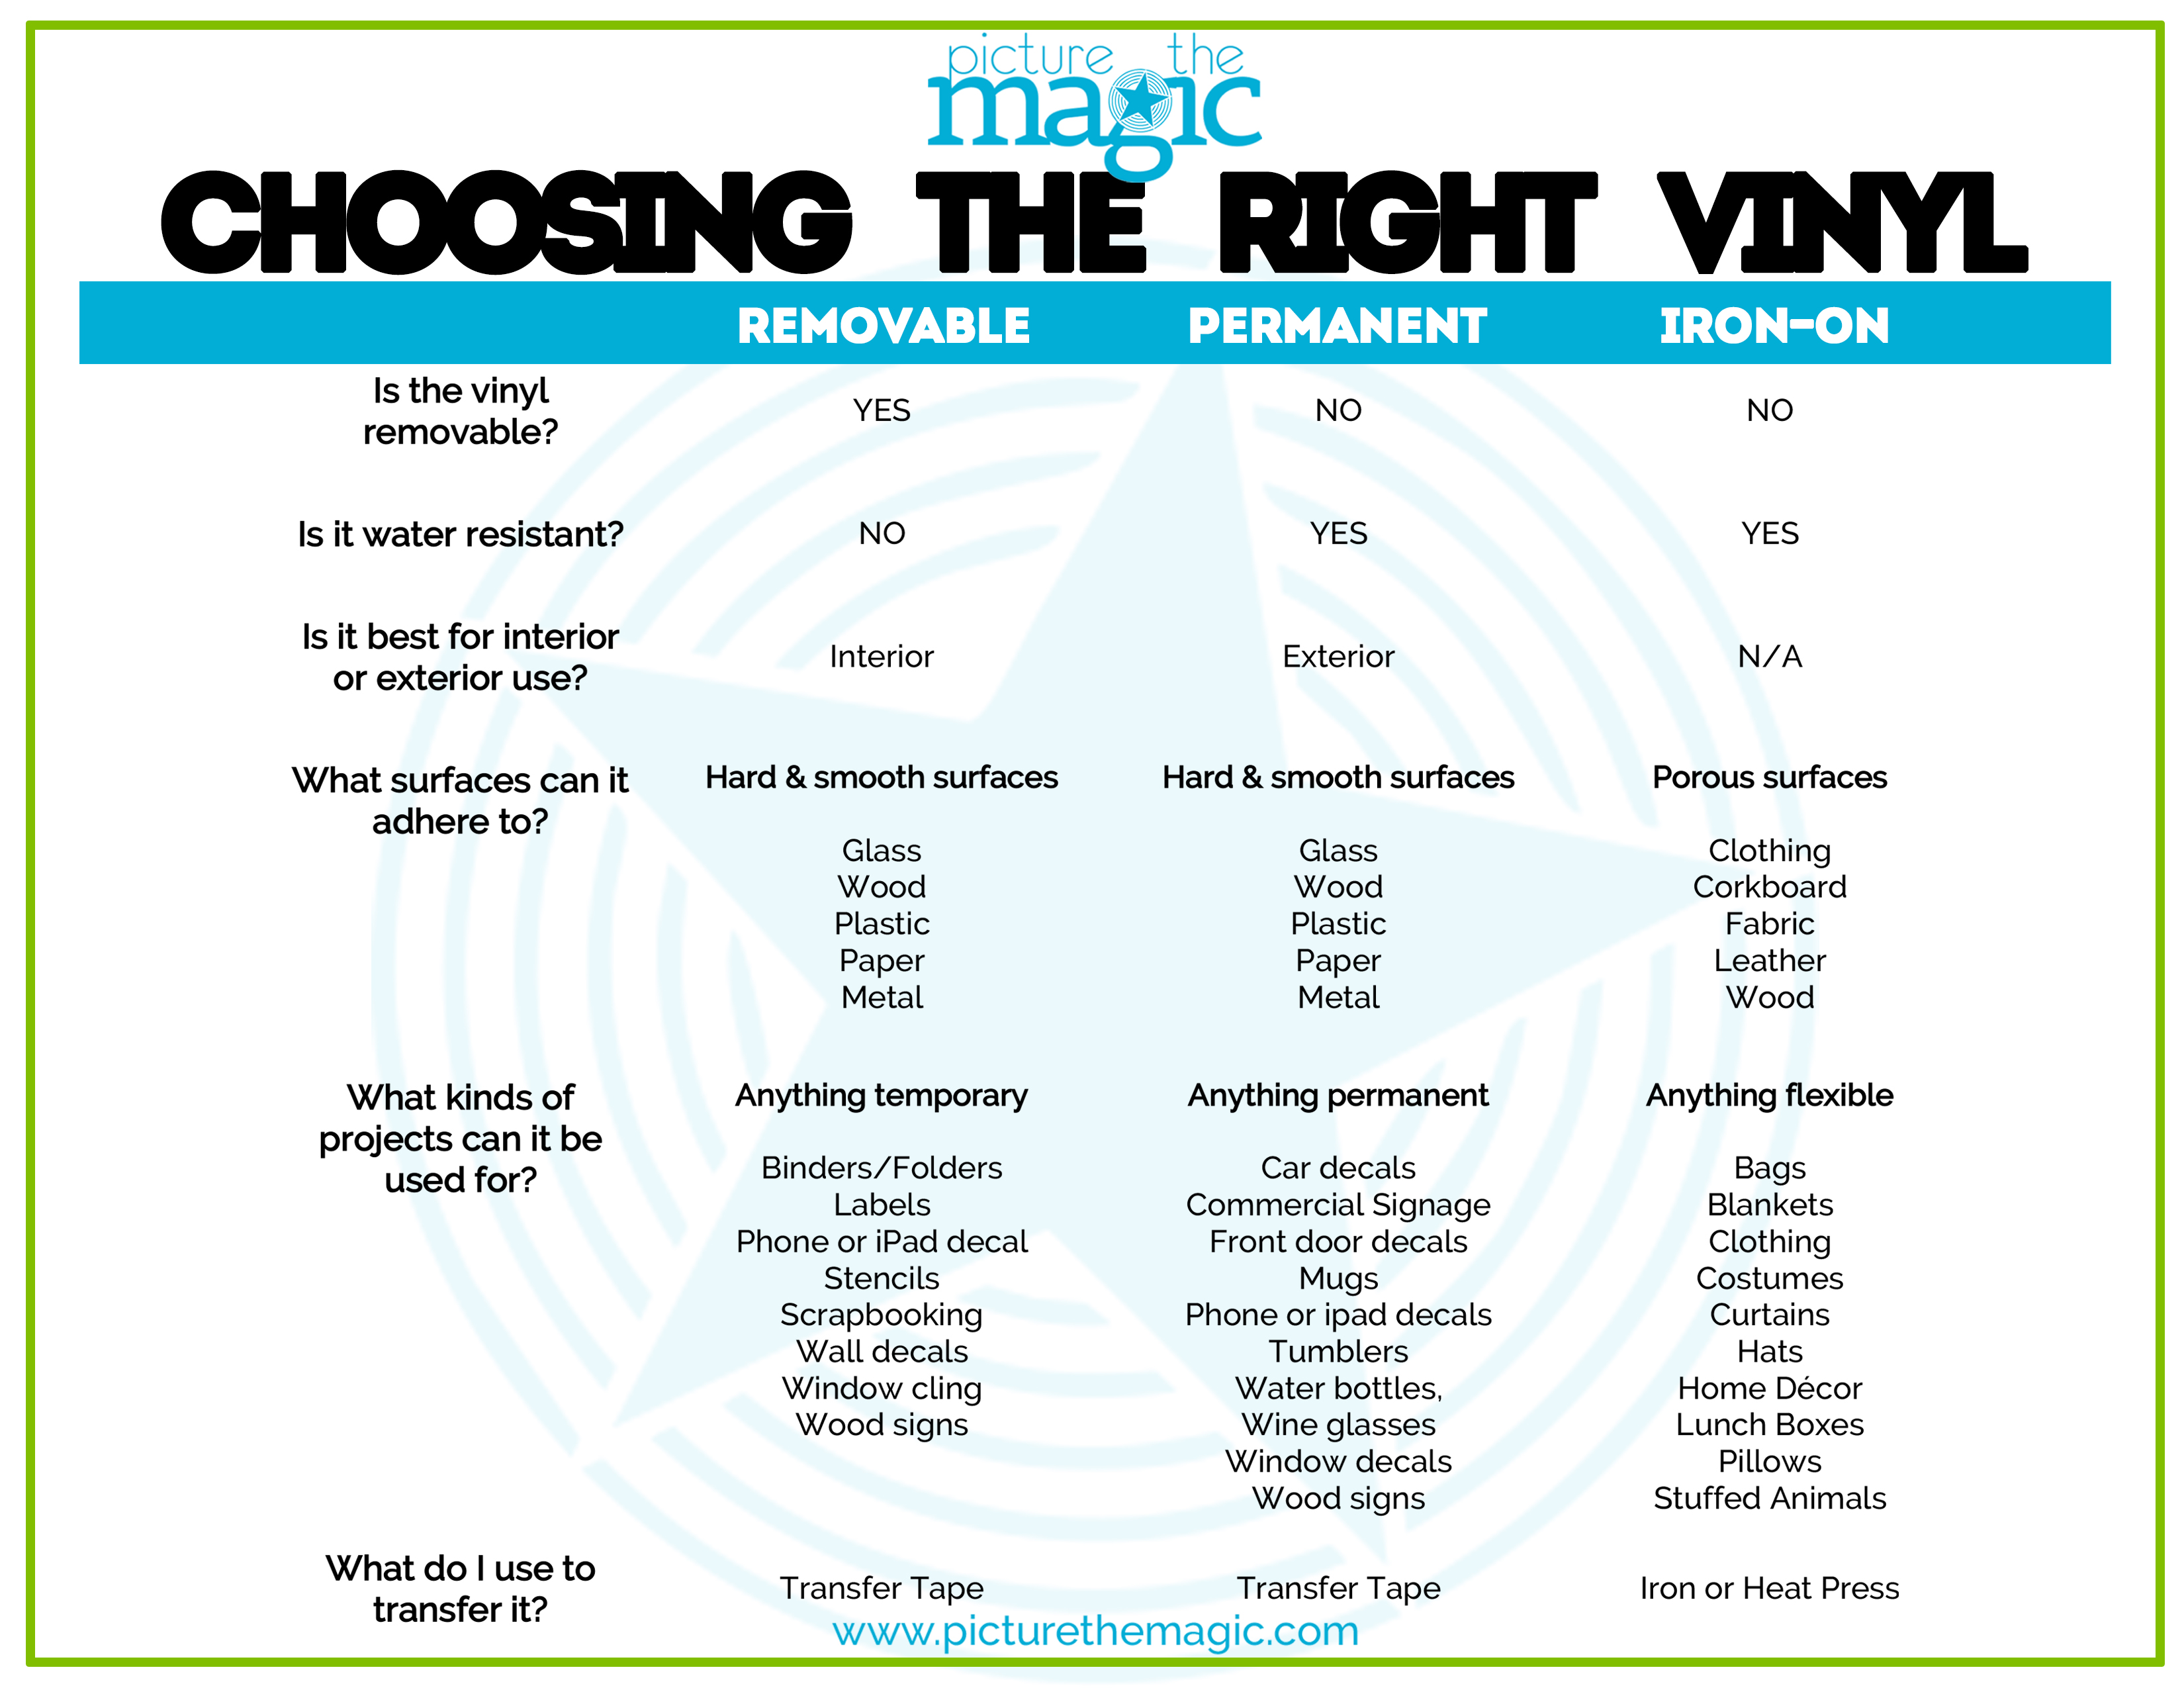
Different Kinds of Vinyl
Iron-On, and permanent, and removable… oh my!
Speaking of different kinds of vinyl… at first glance, it seems like there are A LOT. Walking down the vinyl aisle in a craft store can feel a bit overwhelming. Never fear! I’m about to break it down for you!
There are 3 basic kinds of vinyl, with many design variations within each group…
- Iron-On
- Removable
- Permanent
What type of vinyl do I need for my project?
That depends! What are you attaching your vinyl to? What is it going to be used for? How long do you want it to last?
Here is a handy chart that you can refer back to, when in doubt!
Where can I buy vinyl?
- Cricut (the widest selection is available directly on their website)
- JoAnn Fabrics
- Michaels
- Hobby Lobby
- Amazon
What brand of vinyl should I buy?
To be honest, we think Cricut’s vinyl is one of their most outstanding accessories! We use it often and have had excellent results that have lasted for a long time!
But what about when the color/finish you want is out of stock and you don’t want to drive across town to another store or wait a few days for it to get shipped to your house?
We also really like Siser EasyWeed HTV (iron-on vinyl), Oracal 631 (removable vinyl) and Oracal 651 (permanent vinyl).
Getting Started: Cricut Water Bottle
Supplies Needed to Make a Disney Water Bottle with Cricut Maker
- Cricut Maker
- Bottle (this is the one I used) or tumbler
- Permanent vinyl in red and black
- Standard or Lightgrip cutting mat
- Weeder
- Scraper
- Transfer tape
- Paper trimmer
- Rubbing alcohol
- Cotton pad/ball
- Cricut Bright Pad (optional)
Skill level: Beginner
Time Estimate: 30-40 minutes
Prep Work: For best results, wash and dry your water bottle BEFORE applying your vinyl.
Creating Your Design
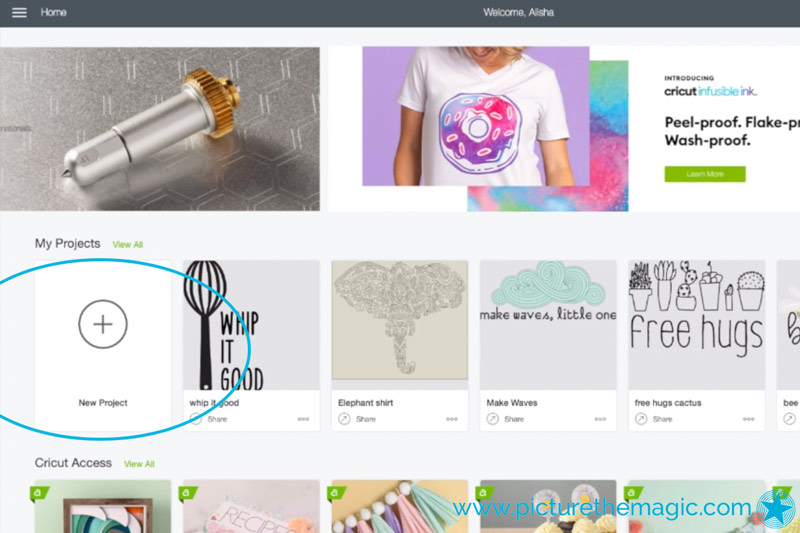
STEP 1: Open Cricut Design Space on your browser.
On the left hand side, open a NEW PROJECT.
STEP 2: ADD YOUR CASTLE
Click IMAGES and then CATEGORIES.
Scroll down to select DISNEY.
Search for “castle.”
Select the castle of your choice, then select INSERT IMAGES.
Change the COLOR to black.
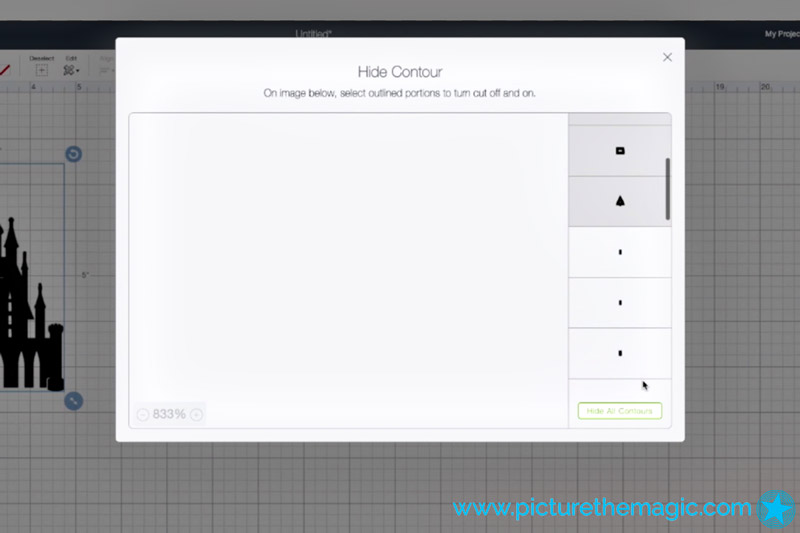
Use the CONTOUR button to select any cuts you don’t want included in your image.
Once all unwanted cuts are selected, click HIDE ALL CONTOURS.
Change the width of the CASTLE to 2.5” WIDE, leaving the proportion control locked, so the height will adjust automatically.
STEP 3: ADD YOUR NAME
Click TEXT to create a text box.
Change the font by selecting the drop-down FONT menu and search for the font of your choice. We used “Babette.” Select your desired font.

TYPE in your text. We wrote: “Alisha.”
Change the COLOR to red.
UNGROUP the letters.
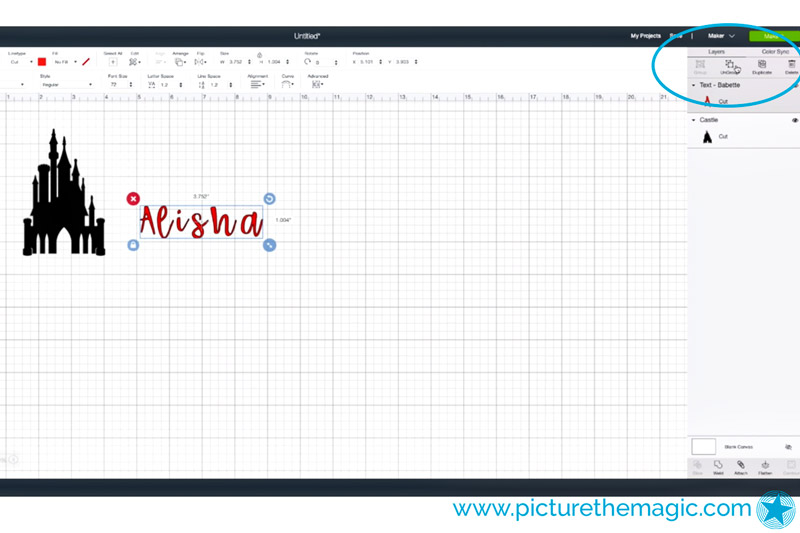
Drag the letters into the position you like, making sure that they are touching.
Select all the letters. WELD the letters together.
Change the width of the NAME to 3” WIDE, leaving the proportion control locked, so the height will adjust automatically.

Drag your NAME onto the CASTLE.
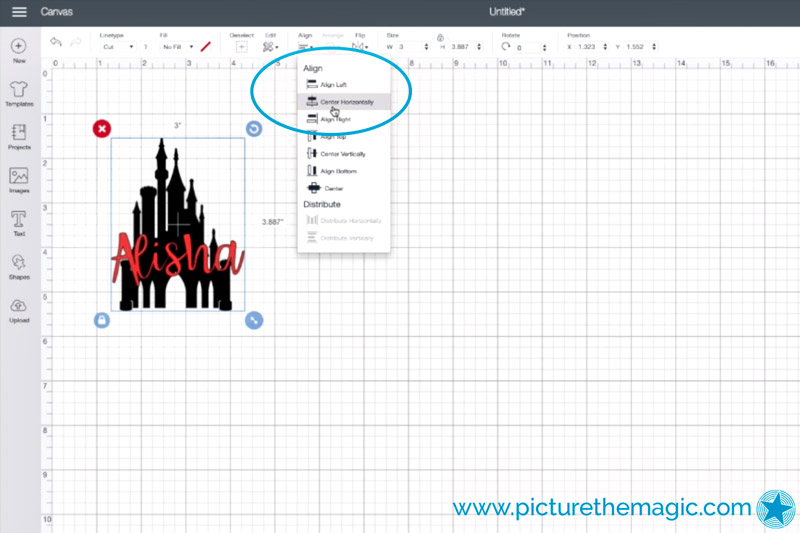
Select both CASTLE and NAME layers. ALIGN them centered horizontally.
Cutting Your Design
Turn ON Your Cricut Maker & connect to your computer.
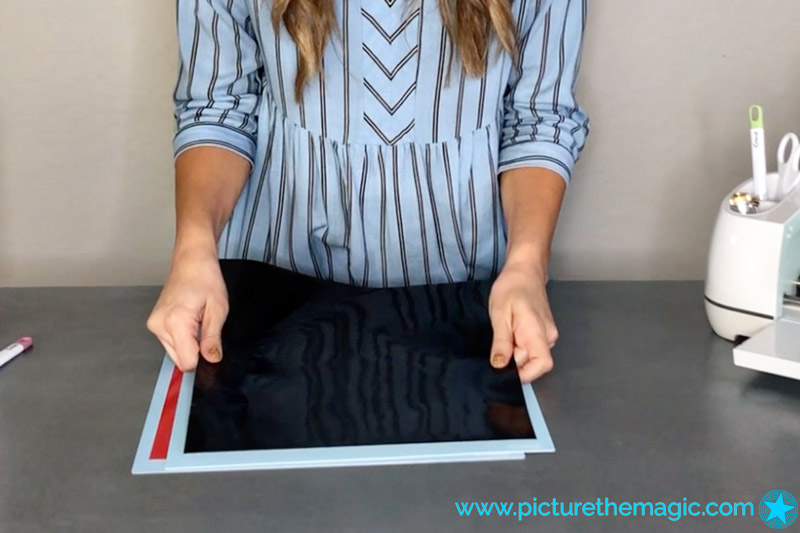
Place your permanent vinyl onto your mat (right side up), aligning it with the grid. The backing should be DOWN.
Load your mat (The cut-out arrow goes in first).
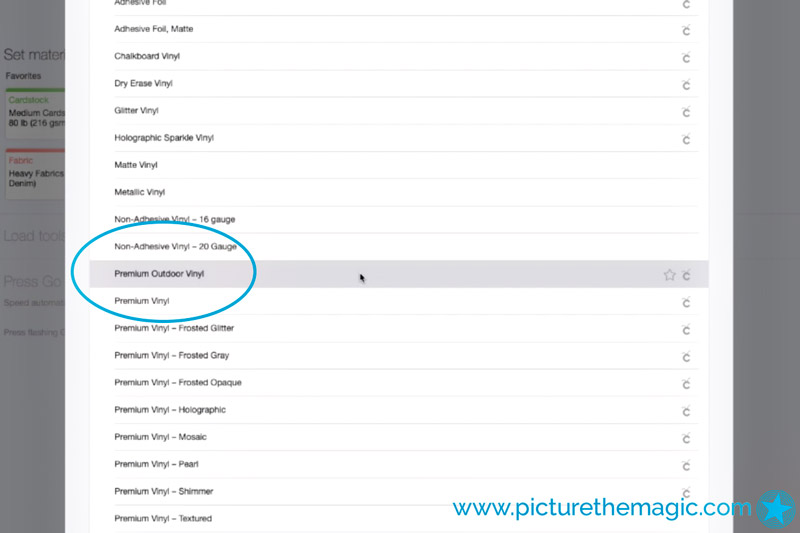
Click MAKE IT at the top right of your screen.
Choose PREMIUM OUTDOOR VINYL for your MATERIAL.
Verify your Fine Point Blade and mat are loaded correctly.
Press the GO button on your Cricut Maker.
Watch the magic happen!
When the Maker is finished and the Load/Unload button blinks, UNLOAD your mat.
Use a paper trimmer or scissors to trim the vinyl around your design
Applying Your Design
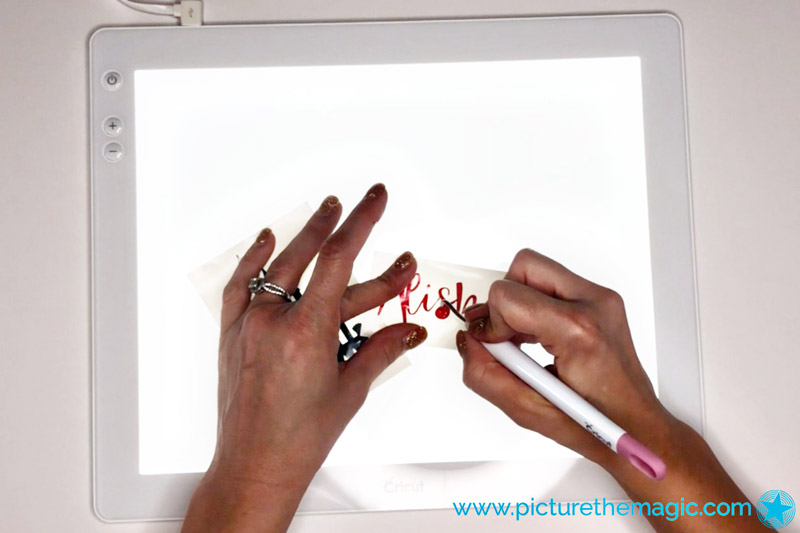
Use your Weeder tool to remove the vinyl that is not part of your design.
TIP: the Cricut Bright Pad makes seeing delicate cut lines SO easy!
Cut a piece of TRANSFER TAPE slightly larger than both of your weeded vinyl pieces.
Peel the backing off of your clear transfer tape. Place it on your work surface, sticky side up.
Lay your vinyl, RIGHT SIDE DOWN, on the transfer tape. Use your SCRAPER to press it firmly into the transfer tape.
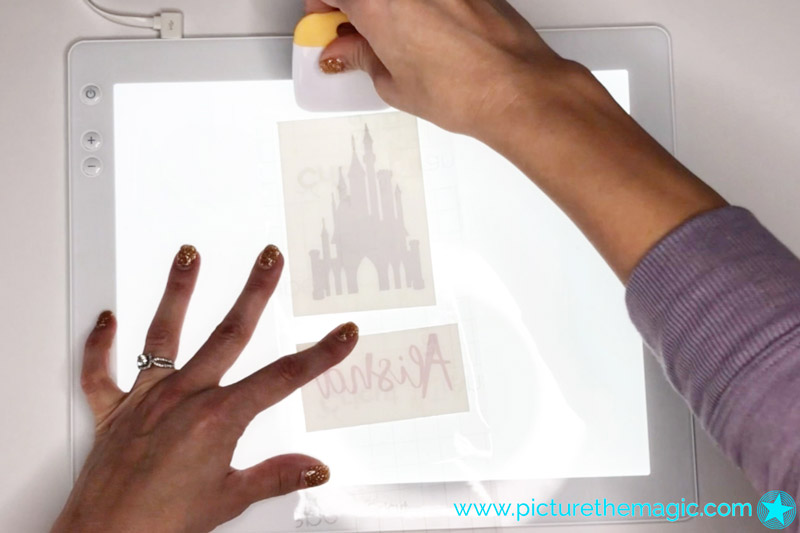
CUT off the excess transfer tape.
Using rubbing alcohol and a cotton pad, WIPE the surface of your water bottle to remove any impurities.
Once it is dry, peel the BACKING off of your vinyl. Carefully place it onto your water bottle.
Smooth your design from the inside out, using your finger and then a scraper.
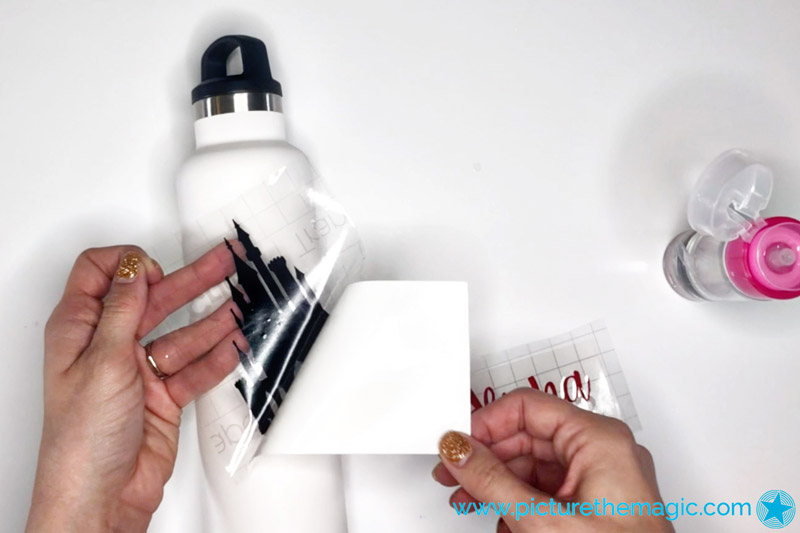
Slowly peel back the transfer tape, pressing your vinyl into your water bottle as you go.
TIP: Keep the transfer tape pulled flat against your water bottle to avoid pulling up the vinyl. GO SLOWLY and be patient!
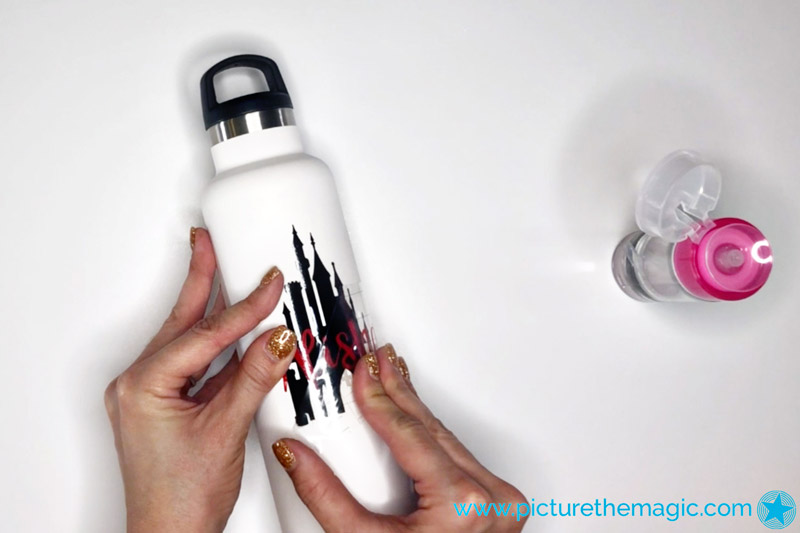
Use your finger and/or scraper to smooth your vinyl.
Repeat Steps 7-10 with your name.
DRINK UP! 😎
Care Instructions
Wash and dry your water bottle prior to apply your vinyl design.
Your vinyl (and likely your water bottle) are NOT dishwasher safe! Gently hand-wash ONLY!
Wait at least 24 hours before washing your water bottle, so the vinyl can fully adhere to the bottle!
We cannot wait to see the water bottles and tumblers you make! Share your design with us using #picturethemagic for a chance to be featured on our instagram!
Ready for your next craft?
Check out Part 2 of our Cricut for Beginners series: a custom Greeting Card Tutorial!
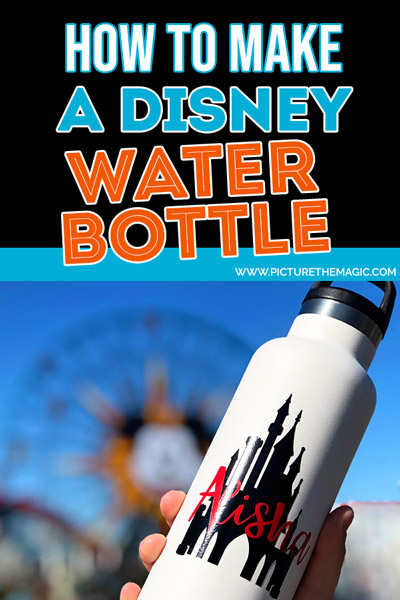
Pin for Later
Cricut Water Bottle FAQs
That depends! What are you attaching your vinyl to? What is it going to be used for? How long do you want it to last? For a water bottle, I would only use permanent vinyl. Refer to this chart for the perfect suggestion for your project.
Vinyl is NOT dishwasher safe, so hand-washing is recommended. It is best to wait 24 hours before washing the bottle for the first time.
I am interested in attempting to make Mirabel out of card stock ( like 48) in height if possible.
That sounds like a very cool project!