Disclosure: This post contains affiliate links. Read full Disclosure Policy.
For the last few years, I have been obsessed with felt! I use this versatile Cricut accessory to make custom Christmas ornaments for my kids, holiday and birthday banners, baby mobiles, Halloween costumes, and so much more! It is such a fun and versatile material to work with.
And my most favorite felt (aka the ONLY one I craft with these days) is Benzie Design felt.
If you’re up to speed in the crafting world, you’ve probably heard of them, and if not, then allow me to introduce you…
Benzie felt has been featured in HGTV Magazine, Better Homes & Gardens magazine, Macy’s Flower Show (Chicago), and even in the movie Trolls. They are the real deal!
Benzie Design felt is real wool-blend felt that comes in a stunning array of over 90 colors! They offer felt sheets and yardage, pom-poms, roving, and even pre-cut shapes (adorably called felt-fetti)!
Not to mention all the crafting knick-knacks (like patterns, embroidery thread, and scissors) you need to complete your felt projects!
Today, I am thrilled to share with you a project featuring Benzie Design (who graciously provided all the felt we used for this project)!
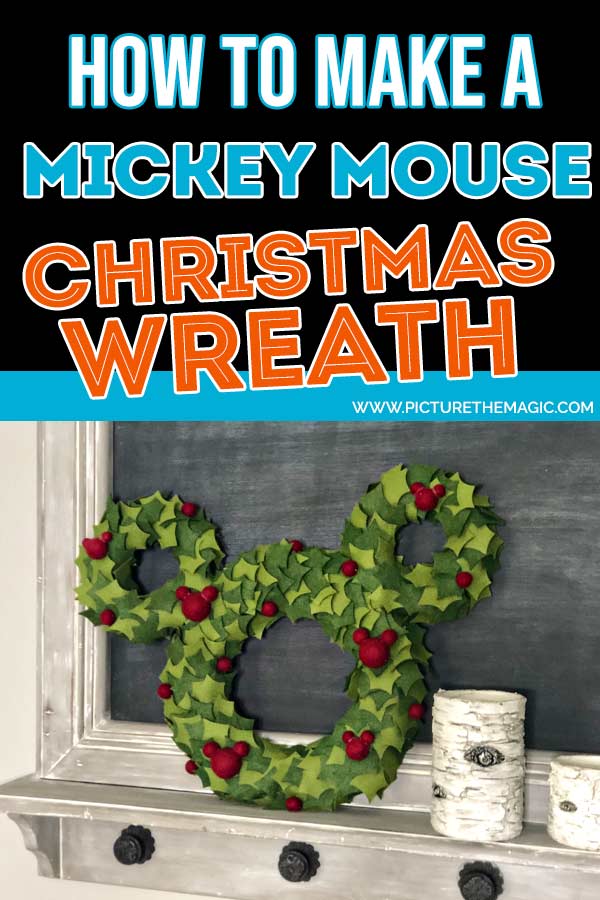
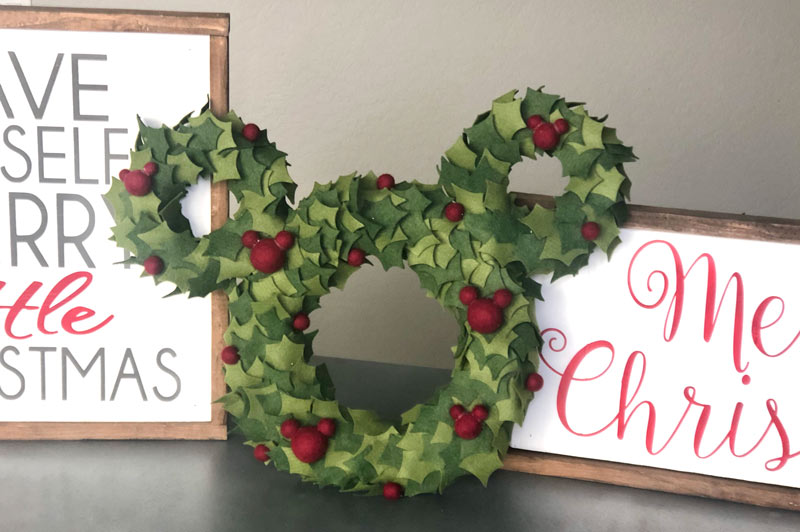
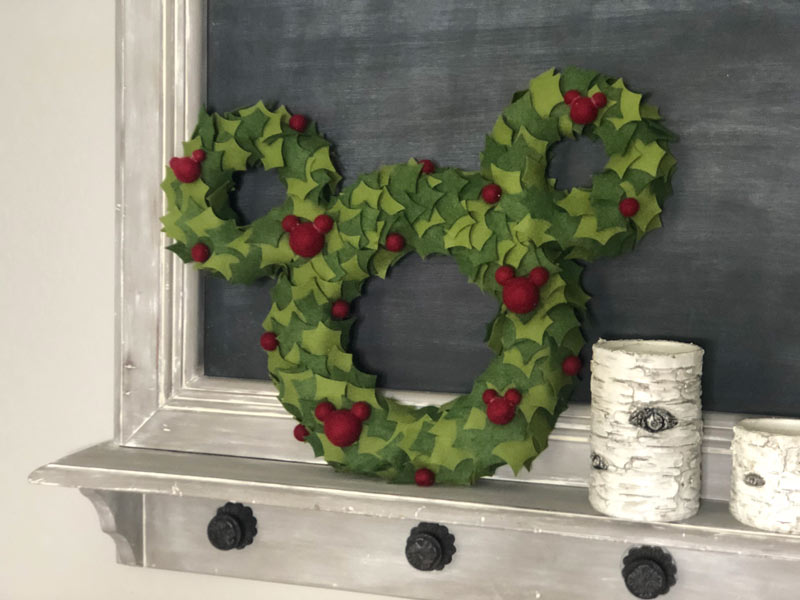
Let’s make a Mickey Mouse inspired Felt Holly Wreath.
Note: these Cricut instructions will work to make any felt wreath (not just Disney).
This wreath is full of cozy charm and Christmas cheer that is sure to make your spirits bright! Plus, thanks to Benzie Design’s pre-cut Felt-fetti Holly, it just might be the EASIEST craft tutorial we’ve ever shared with you!
Warning: once you go Benzie, you never go back… so prepare to be obsessed!
Now, let’s get crafting!
TABLE OF CONTENTS
- Getting Started
- Customize Your Design
- Cut Your Felt
- Make Your Wreath – Leaves
- Make Your Wreath – Holly Berries
- Make Your Wreath – Hanger
- More Benzie Felt Projects
GETTING STARTED
Supplies Needed:
- One 12” styrofoam wreath
- Two 6” styrofoam wreaths
- Duct tape
- Applique pins
- Hot glue gun
- Hot glue sticks
- 12 bags of Benzie Design Felt-fetti Holly in Moss & Meadow
NOTE: Benzie Design offers a discount on their Felt-fetti when purchased in a 12-bag bundle! It’s basically a “Buy 8, Get 4 Free!” deal.
Great way to get the most bang-for-your buck. And if you end up not using every leaf, you can save it for another holiday project.
- Benzie Design Pom-Poms in Crimson
- 3 large
- 3 medium
- 18 small
- 6 xsmall
NOTE: If you prefer to CUT YOUR OWN LEAVES (which is cheaper than buying Felt-fetti, but much more time-consuming), you will need:
- Nine 12”x18” sheets of felt TOTAL in Moss & Meadow
- Cricut Maker
- Fabric Mat
- Rotary Blade
Skill Level: The Easiest
Time Estimate: 60 min
Video Overview: Watch This First
NOTE: If you choose to purchase Benzie’s precut Felt-fetti Holly, you can SKIP the next TWO SECTIONS… and a lot of time!
But if you prefer to cut your own leaves out of felt, it’s super easy to do, courtesy of your Cricut Maker or Cricut Explore machine, here’s how to do it!
CUSTOMIZE IT IN CRICUT
Only follow these instructions if not using Benzie’s pre-cut Holly.
- Click HERE to open our Cricut Design Space project template in your browser.
- NOTE: This project contains 1 licensed image that is found within Cricut Design Space. You will be prompted to purchase it for a couple of dollars, when you CUT your design.
- Adjust the SIZE or COLOR of the holly leaves, if you like.
CUT IT
- Place your felt onto your pink fabric mat, aligning it with the grid. Smooth it down firmly.
- Load your ROTARY BLADE into your Machine.
- Turn your Cricut Maker on.
- Load your first mat (The cut-out arrow goes in first).
- Click MAKE IT at the top right of your screen.
- Increase the number of COPIES at the top left of your screen.
- Choose FELT for your MATERIAL.
- Choose ROTARY BLADE for your TOOL.

- Verify your blade and mat are loaded correctly.
- Press the GO button on your Cricut Maker.
- Watch the magic happen!
- When the Maker is finished and the Load/Unload button blinks, UNLOAD your mat.
- REMOVE your leaves and remnant felt from your mat.
- LOAD your next mat, and click the GO button again.
- REPEAT until all your leaves have been cut!
MAKE IT – LEAVES
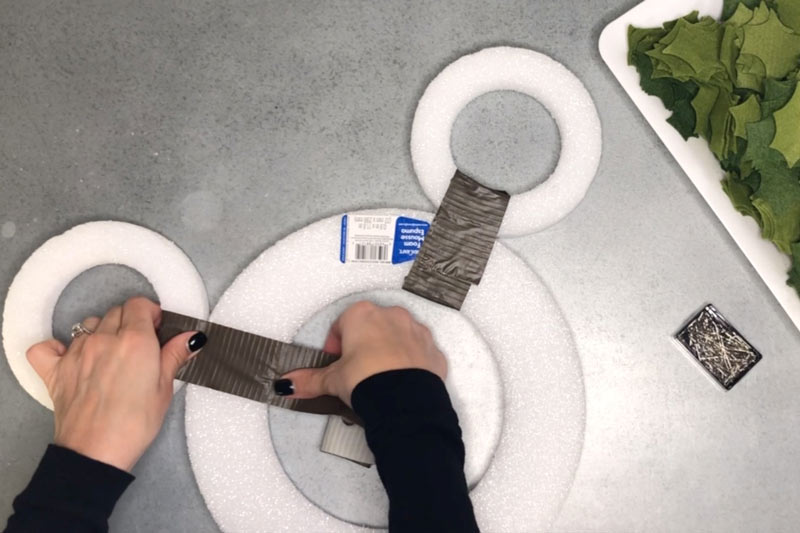
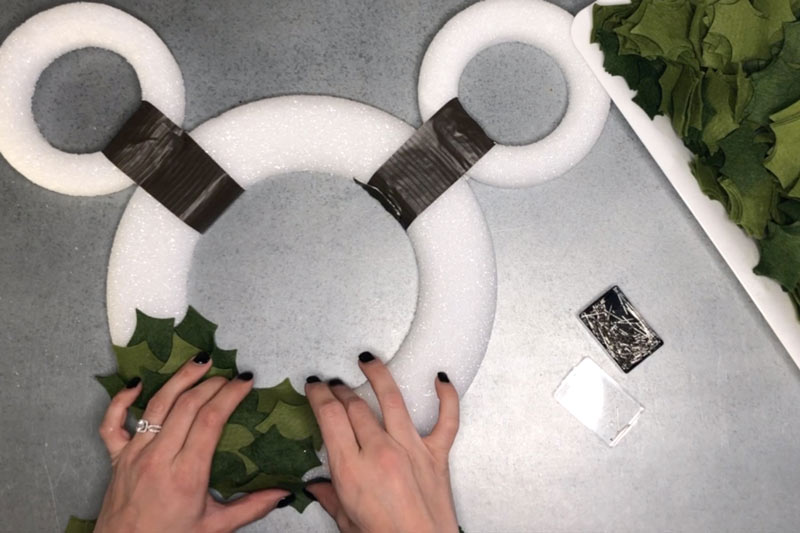
- ALIGN your small styrofoam wreaths along the top of your large wreath, so that they resemble a basic Mickey Mouse head.
- Use a strip of DUCT TAPE to secure the wreaths together. Make sure you WRAP IT AROUND several times, to form a secure bond!
- Use an applique pin to place one leaf at a time onto the wreath. PRESS THE PIN into one end of a leaf.
- PIN more leaves, overlapping the leaves and alternating colors.
- NOTE: The closer together you place your leaves, the fuller it will be!
- CONTINUE applying the leaves in a circular direction, around the wreath, until all exposed styrofoam is covered.
- Make sure your final “row” of holly leaves is TUCKED UNDER your first row, to create a continuous flow of leaves.
- Check for any sparse areas, and ADD additional leaves as desired, to increase fullness.
MAKE IT – BERRIES
- PREHEAT your hot glue gun.
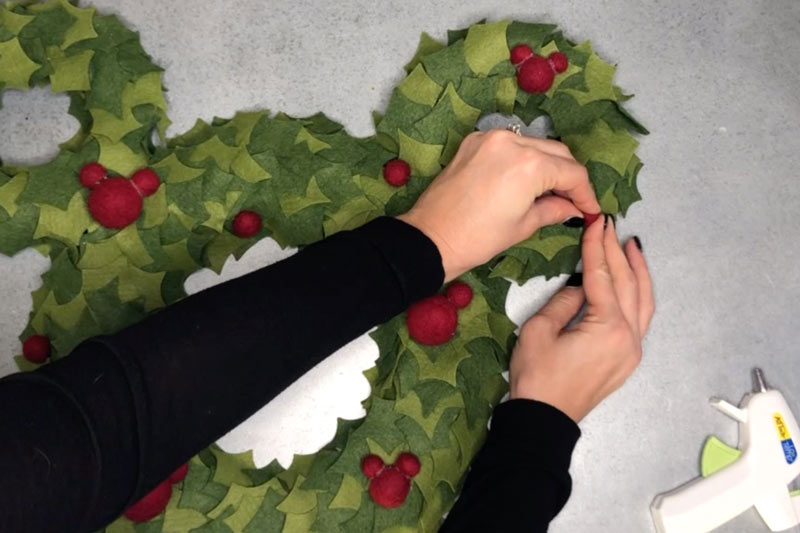
- Use a small dot of HOT GLUE to secure 2 SMALL pom-poms to one LARGE pom-pom, to resemble a Mickey head. Secure 2 X-SMALL pom-poms to one MEDIUM pom-pom in the same fashion.
- NOTE: It is important to gently hold the pom-poms in place while the hot glue cools!
- REPEAT until you have the desired number of “Mickey heads.” I made 3 large and 3 medium ones.
- ATTACH the “Mickey heads” to your wreath using a small dot of hot glue.
- REINFORCE the secure hold of the Mickey heads by pinning 2 or 3 applique pins through the sides of the largest pom-poms, diagonally into the wreath.
- ATTACH your remaining small “holly berry” pom-poms in the same manner… first using hot glue, and then reinforcing with applique pins.
MAKE IT – WREATH HANGER
- Turn your wreath over, so the back side is facing you. CUT a small scrap of felt (or fabric, or even duct tape) to approx. 1.5” x 6.” LOOP this strip onto itself.
- SECURE the loop to itself using hot glue.
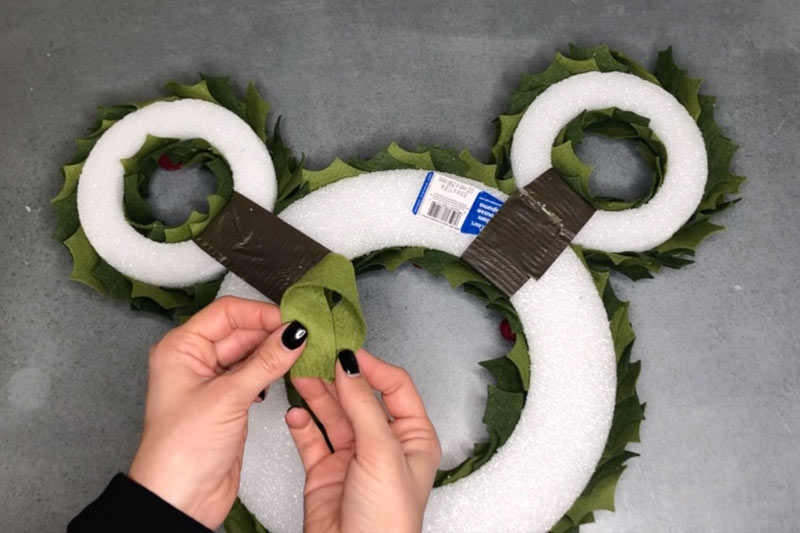
- ATTACH the base of this loop to the back of the styrofoam wreath using a large dot of hot glue.
- PRESS 4-5 applique pins through the base of the wreath, to strengthen the bond between the loop and the wreath.
That’s it! I told you this was an easy project. Consider it my early Christmas present to you! 🙂
We cannot wait to see the wreaths you make! Share your design with us using #picturethemagic and #benziefelt for a chance to be featured on Picture the Magic’s Instagram!
Video: Learn More about Benzie Designs
WANT MORE PROJECTS?
Ready to make another project using Benzie Design felt?
Check out the official Benzie Design Blog that is full of incredible step-by-step tutorials!
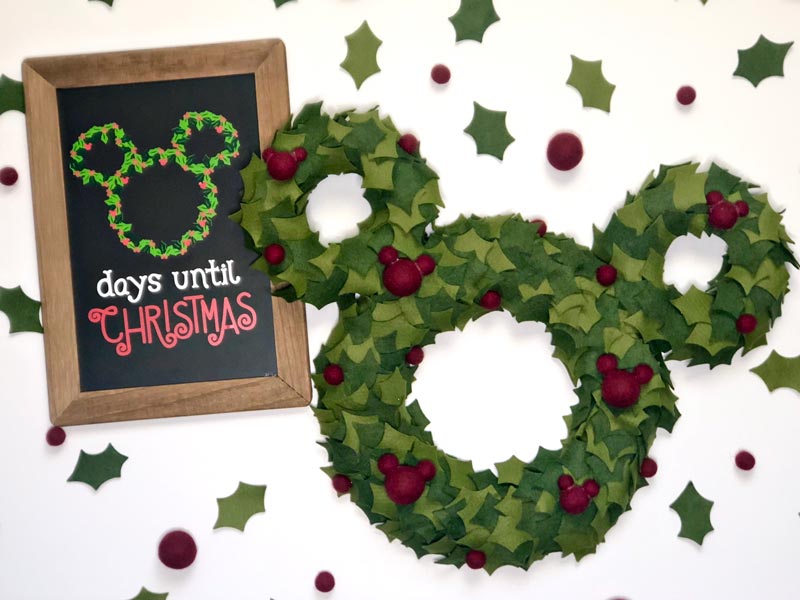
Learn how to make a Mickey Mouse Christmas Countdown with your Cricut.
Also, don’t miss our page full of Mickey Mouse nail designs for inspiration and tutorials for magical nail art.
Pin for Later